

Key Takeaways
Why Composting Is Worth the Effort
Composting is one of the most efficient things a home gardener can do. It diverts organic waste from the landfill, saves money on bagged soil amendments, and builds long-term soil health in a way that few other practices can match. The resulting material - often called humus or finished compost - improves drainage in clay soils, increases water retention in sandy soils, feeds the microbial communities that make nutrients available to plant roots, and can even help buffer extreme soil pH over time.
Understanding how soil pH affects plant health helps you appreciate why organic matter matters so much - compost works synergistically with soil chemistry rather than overriding it. If you're starting a vegetable garden from scratch, building a compost system early gives you a consistent supply of amendment ready by planting season.
The process is driven entirely by microorganisms - bacteria, fungi, and invertebrates - that break down organic matter into stable, plant-available nutrients. Your job as a composter is simply to give those organisms the right conditions: food, moisture, air, and warmth.
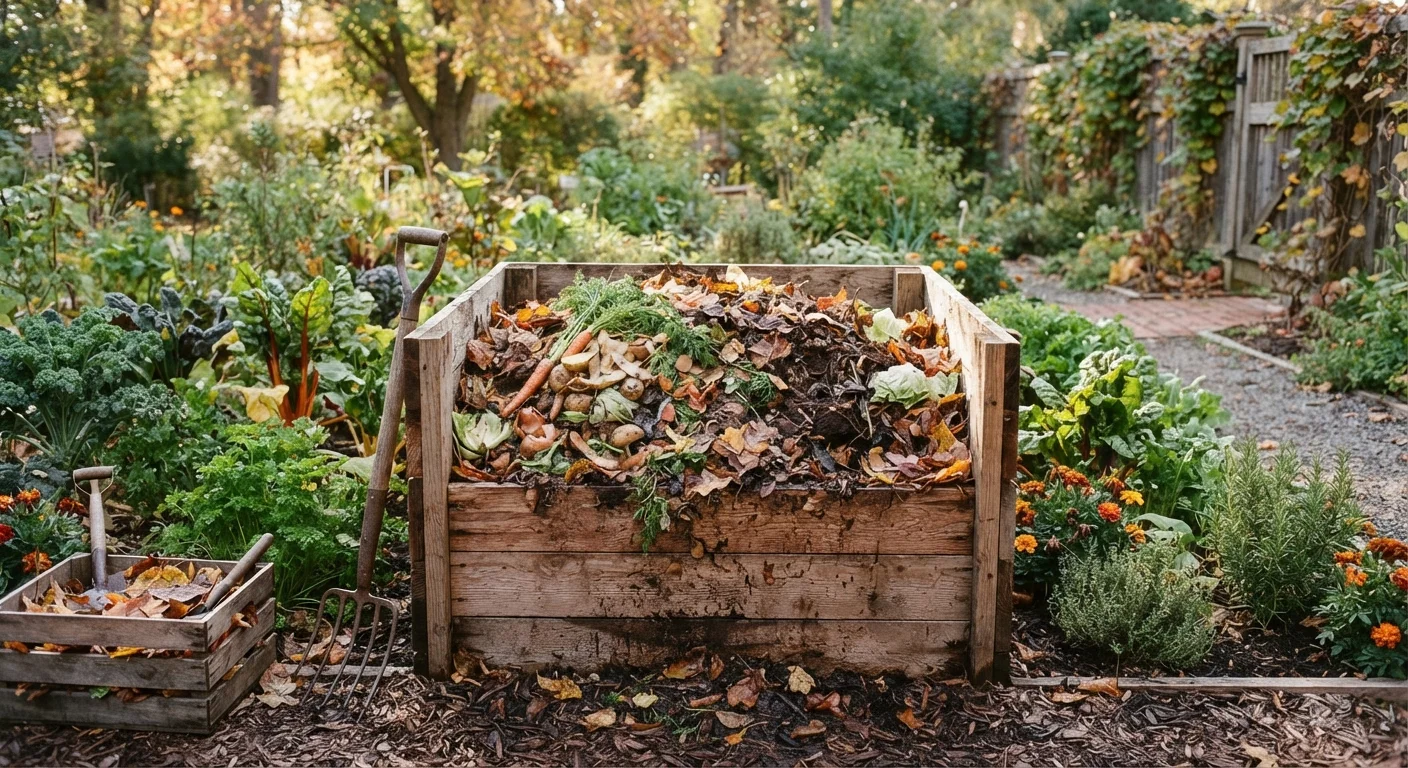
Compost bin or designated pile area
Contains materials, retains heat, and keeps the pile tidy and pest-resistant.
Garden fork or compost aerator
Used to turn and mix the pile regularly to introduce oxygen.
Kitchen scrap container with lid
Collects food scraps indoors between trips to the outdoor bin.
Garden hose or watering can
Adds moisture when the pile feels too dry.
Compost thermometer
Monitors internal pile temperature to confirm active decomposition is occurring.
Wire mesh or hardware cloth
Lines the base or sides of open bins to deter burrowing pests.
What to Add - and What to Leave Out
The range of compostable materials is broader than most beginners expect. Beyond fruit and vegetable scraps, suitable greens include eggshells (which add calcium and help buffer acidity), coffee grounds, and freshly pulled weeds that haven't gone to seed. Browns include any dry, carbon-rich material: shredded junk mail, paper towel rolls, dry leaves, and plain cardboard with tape and staples removed.
Keep These Out of Your Bin
Never add meat, fish, bones, dairy products, or greasy foods to a backyard compost pile. These materials attract rodents and pests, create foul odors, and can introduce pathogens. Diseased plants and pet waste should also be kept out, as standard home composting temperatures may not reliably neutralize harmful organisms.
One common question is where compost fits compared to mulch. While both improve garden beds, they serve different roles - compost is worked into the soil as a nutrient amendment, while mulch sits on the surface to regulate temperature and moisture. See our overview of mulch versus bare soil trade-offs for a fuller picture of how surface management complements soil building.
What you will need
Step-by-Step: Building and Maintaining Your Compost System
Follow these steps to set up a functional home compost system. Initial setup takes 30 to 60 minutes; ongoing maintenance is light once the pile is established.
Choose and set up your composting method
Decide on a containment approach before adding any materials. The most common options for home composters are:
- Open pile: Simply designate a corner of the yard, ideally at least 3×3 feet. No cost, but less pest-resistant.
- DIY bin: Four wooden pallets or a cylinder of wire fencing creates an inexpensive enclosed structure.
- Purchased bin: Tumbler-style or stationary plastic bins offer better pest resistance and a tidier appearance.
Place your bin or pile in a partially shaded spot with good drainage. Full sun speeds evaporation and can dry out the pile; deep shade slows microbial activity.
Collect and sort your compostable materials
Compost works through the interaction of two material types:
- Greens (nitrogen-rich): Vegetable and fruit scraps, coffee grounds and filters, tea bags (remove staples), fresh grass clippings, and plant trimmings.
- Browns (carbon-rich): Dry leaves, cardboard, newspaper, paper bags, straw, and untreated wood chips.
A general target is roughly two to three parts browns for every one part greens by volume. Too many greens creates a slimy, smelly pile; too many browns stalls decomposition.
Build your initial pile in layers
Start with a 3-4 inch layer of coarse browns - wood chips, straw, or shredded cardboard - directly on the ground. This base layer improves drainage and airflow from beneath. Then alternate:
- A 2-3 inch layer of greens
- A 3-4 inch layer of browns
Repeat until the pile reaches at least 3 feet tall, which is the minimum height needed to generate the internal heat that accelerates decomposition. Lightly moisten each layer as you build - the pile should feel about as damp as a wrung-out sponge.
Maintain moisture and aeration
Once your pile is established, two factors determine how quickly it works: moisture and oxygen. Check the pile every one to two weeks by grabbing a handful from the center.
- If it feels dusty and dry, add water gradually and mix it in.
- If it's dripping wet or smells like ammonia or sulfur, add more browns and turn the pile.
Turn the pile by moving outer materials toward the center with a garden fork. This reintroduces oxygen and redistributes heat. For faster compost, turn weekly; monthly turning produces finished compost more slowly but requires less effort.
Recognize and use finished compost
Compost is ready to use when it looks, feels, and smells like dark, crumbly soil - not like identifiable food scraps or leaves. The volume of the pile will have reduced significantly, often by 50% or more.
Apply finished compost by:
- Working 1-3 inches into the top layer of garden beds each season
- Using it as a top dressing around established plants
- Mixing it into potting soil for containers (typically no more than 25-30% compost by volume)
If your pile produces compost faster than you need it, store finished material in a covered bin or bag to prevent nutrient leaching from rain.
Chop or Shred Materials for Faster Results
Smaller particles give microbes more surface area to work with, which noticeably speeds up decomposition. Run cardboard through a shredder, chop vegetable scraps before adding them, and mow fallen leaves before raking them into the bin. Aim for pieces no larger than two to three inches.
Avoid Compacting Your Pile
Pressing or tamping down compost materials cuts off the airflow that aerobic microorganisms need to work. A compacted pile tends to turn anaerobic - producing unpleasant odors and dramatically slowing decomposition. Keep layers loose and turn regularly to maintain oxygen throughout the pile.
Putting Finished Compost to Work
Once you have a reliable supply of finished compost, you can integrate it across nearly every gardening project. It's particularly valuable in vegetable beds, where nutrient demand is high and soil structure matters for root development. If you're comparing raised beds versus in-ground planting, compost is a key input in either system - but especially useful in raised beds where you're building soil from scratch.
Compost also supports companion planting strategies. Healthier soil means stronger plants that are better equipped to benefit from neighboring species. If you're exploring companion planting combinations, pairing those pairings with well-amended soil gives each plant the foundation it needs to perform.
Over time, a consistent composting habit closes the loop in your garden: kitchen and yard waste goes in, and rich, living soil amendment comes out - season after season.