

Key Takeaways
Why Cracking Caulk Is Such a Common Problem
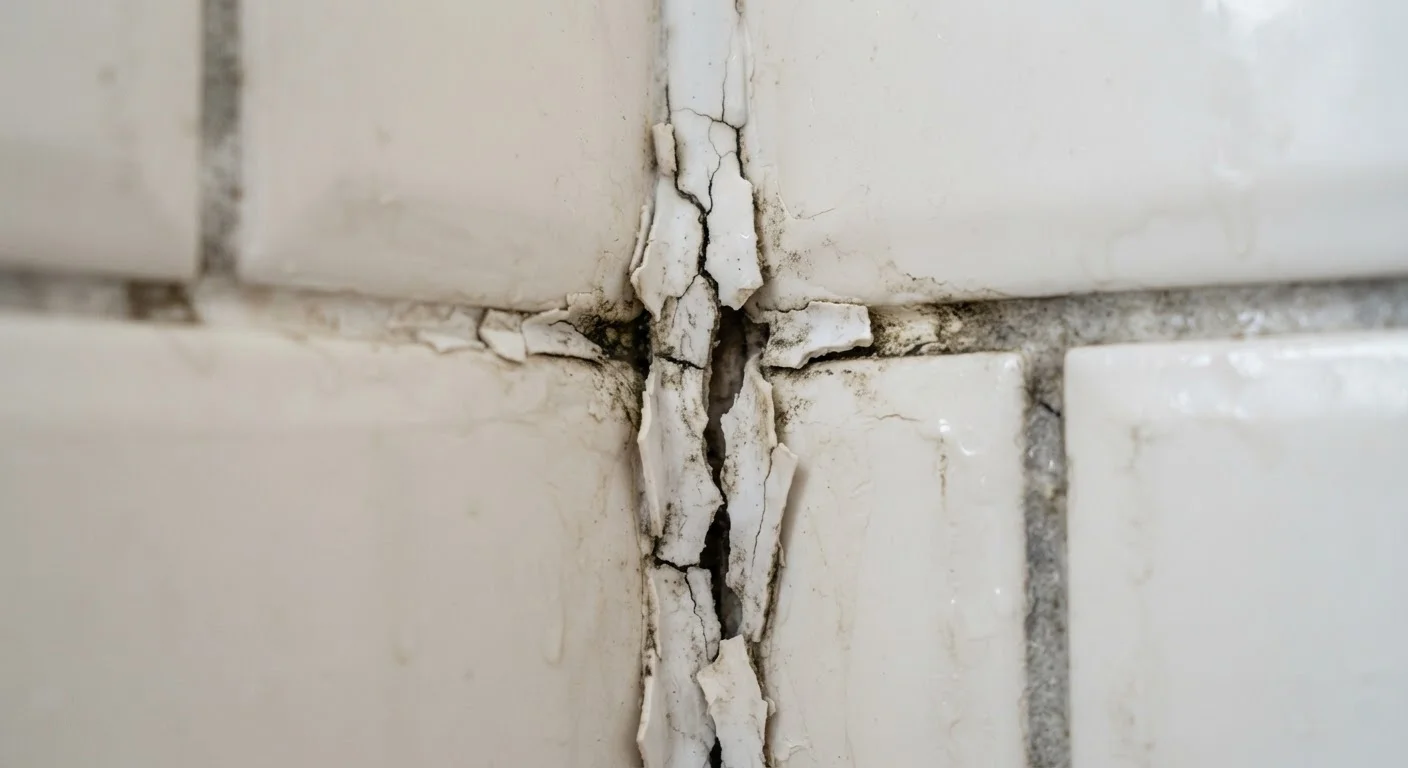
Caulk looks deceptively simple to apply - squeeze the tube, run a bead, smooth it out. But a surprising number of homeowners find themselves redoing the same joint every year or two, wondering why it keeps cracking. The answer usually isn't bad luck. It's one of a handful of repeatable mistakes that are straightforward to correct once you know what to look for.
Understanding why caulk fails matters beyond aesthetics. Cracked caulk in a bathroom or around windows lets in moisture, which leads to mold, rot, and structural damage over time. Getting it right the first time protects your home and saves you from a frustrating cycle of short-term repairs.
For related repair guidance, see our bathroom tile and re-caulking walkthrough for a full room-level perspective. And if you're ever unsure whether a joint needs caulk or grout, our grout vs. caulk guide covers that distinction in detail.
Using the wrong type of caulk for the location.
Why it happens: Hardware stores carry many caulk formulations - painters caulk, silicone, siliconized latex, kitchen and bath - and product labels aren't always clear. Many homeowners default to whatever's on hand.
Applying new caulk directly over old, cracked caulk without removing it first.
Why it happens: Removing old caulk is tedious, so the temptation to layer over it is understandable - especially when the old bead looks mostly intact.
Not allowing the surface to dry thoroughly before caulking.
Why it happens: Homeowners often caulk right after cleaning or right after a shower, not realizing that even minor surface moisture disrupts adhesion.
Applying caulk in one thick bead over a wide gap.
Why it happens: It seems logical to fill a large gap with a lot of material, but thick caulk beads shrink and crack as they cure because the outer skin dries faster than the interior.
Painting over caulk before it has fully cured, or using non-paintable caulk under paint.
Why it happens: Schedules are tight, and paint seems harmless. Many people also don't notice that some caulks - particularly silicone - explicitly say 'not paintable' on the label.
Ignoring seasonal movement in the joint and applying caulk during temperature extremes.
Why it happens: Most homeowners don't think about how much building materials expand and contract. Caulking on a very cold or very hot day affects both application flow and how the joint will stress the bead as temperatures normalize.
How to Recaulk the Right Way
Once you understand what causes cracking, the fix follows a clear process. Start by removing all old caulk completely - a plastic scraper or oscillating tool works well for this step. Never apply new caulk directly over old, even if the existing bead looks mostly intact. Residual caulk prevents a clean bond and the same failure pattern will repeat.
Never Caulk Over Mold or Mildew
If you see black or green growth along the joint, caulking over it will trap the mold rather than eliminate it. Clean the area thoroughly with a diluted bleach solution, allow it to dry completely, and verify the growth is gone before sealing. Persistent or widespread mold may indicate a deeper moisture issue worth investigating before re-caulking.
After removal, clean the joint with rubbing alcohol or a diluted bleach solution (for mold-prone areas) and let it dry completely - at least an hour in good ventilation. For gaps wider than about a quarter inch, press foam backer rod (an inexpensive foam cord available at hardware stores) into the gap first to give the caulk a solid backing and prevent it from becoming too thick.
Apply the caulk in a single, steady pass at roughly a 45-degree angle, keeping even pressure on the tube. Smooth the bead with a dampened finger or a caulk-finishing tool, then step back. Resist the urge to overwork it. Allow the full cure time listed on the product label before any water contact - this varies from a few hours to 24-48 hours depending on formulation. Check whether your chosen caulk is rated for paint if you plan to prime or paint over it afterward. Consult our common home repair myths article for more on why shortcuts in jobs like this tend to backfire.
5-10 years
Expected lifespan of properly applied caulk
Industry guidance from building envelope specialists generally cites five to ten years as a reasonable service life for correctly installed residential caulk in wet areas.
~$500+
Median cost of water damage from failed bathroom seals
Water intrusion from deteriorated caulk is a common cause of subfloor and wall cavity moisture damage, with repair costs varying widely depending on the extent of damage found.
With proper prep and the right product, a quality caulk job should hold for five to ten years in most residential applications before needing attention again. That's a meaningful return on a task that, done correctly, takes less than an afternoon.