

Key Takeaways
Assessing the Damage Before You Begin
A successful bathroom restoration starts before you open a single tube of caulk. Walk the perimeter of your shower or tub surround and look for these warning signs: discolored or crumbling grout, soft or hollow-sounding tiles (tap each one firmly with a knuckle), caulk that has pulled away from the wall, and any visible water staining on adjacent drywall or flooring.
Run your finger along grout lines. Sound grout feels firm and consistent; failing grout may flex, crumble, or show dark mold embedded below the surface. Check transitions - the seam where tile meets the tub deck, shower pan, or a wall corner - because those joints experience constant movement and are the most common entry points for water intrusion.
This assessment determines your repair sequence. Tile issues must be addressed first, then grout, and finally caulk. Skipping to a cosmetic fix while structural problems remain is one of the most common - and costly - home repair mistakes. For a broader look at repair misconceptions, see common home repair myths that can make bathroom problems worse.
When to Call a Licensed Professional
If tapping tiles reveals widespread hollow areas across multiple rows, or if you find soft, spongy substrate behind removed tiles, water damage to the wall structure may be extensive. Replacing water-damaged cement board or addressing structural framing may require a licensed contractor. Similarly, any work involving rerouting plumbing should be handled by a licensed plumber.
Tools and Materials You'll Need
Gather everything before you start. Mid-project supply runs extend cure times and can compromise results.
- Grout saw or oscillating multi-tool with a grout-removal blade - for cutting out old material cleanly
- Margin trowel and notched trowel - for applying tile adhesive (thinset mortar)
- Grout float - a flat rubber tool for pressing grout into joints
- Sanded and unsanded grout - matched to your joint width (see key takeaways)
- 100% silicone caulk or siliconized latex caulk - color-matched to your grout for corner and transition joints
- Utility knife and caulk removal tool
- Grout sealer - applied after grout has fully cured
- Safety glasses and gloves - grout dust is an irritant; handle tile shards carefully
~$300-$500
Average DIY cost to re-grout a standard shower
Professional re-grouting for the same area typically ranges from $700 to $1,200 or more depending on region, according to home improvement cost-tracking sources.
48-72 hrs
Minimum grout cure time before water exposure
Most standard cement-based grout manufacturers recommend waiting at least 48-72 hours before exposing newly grouted joints to water in wet areas.
1 in 5
Homes with bathroom water damage from failed caulk or grout
Industry surveys consistently find that deteriorated grout and caulk joints are among the most common sources of preventable bathroom water damage in residential homes.
Repairing Cracked or Loose Tiles
A hollow-sounding tile has lost its bond to the substrate. Left unaddressed, moisture works behind it, accelerating damage to the wall board beneath. Remove the grout surrounding the affected tile using a grout saw or oscillating multi-tool, working carefully to avoid chipping neighboring tiles. Pry the loose tile free with a margin trowel.
Scrape the old thinset from both the wall and the back of the tile (if you're reusing it). Apply fresh thinset mortar to the wall using a notched trowel, press the tile firmly into place, and use tile spacers to maintain consistent joint width. Wipe off squeeze-out immediately. Allow the thinset to cure fully - typically 24 hours, though product directions govern - before moving on to grouting.
Before removing a cracked tile, photograph the surrounding area and measure the tile dimensions precisely - matching an older tile for color and size at the tile supply store is far easier with a photo and exact specs in hand.
Tile dye lots vary between production runs, meaning a tile from even the same brand and style purchased later may not match perfectly. Bringing a sample or detailed photo gives store staff the best chance of finding a close match.
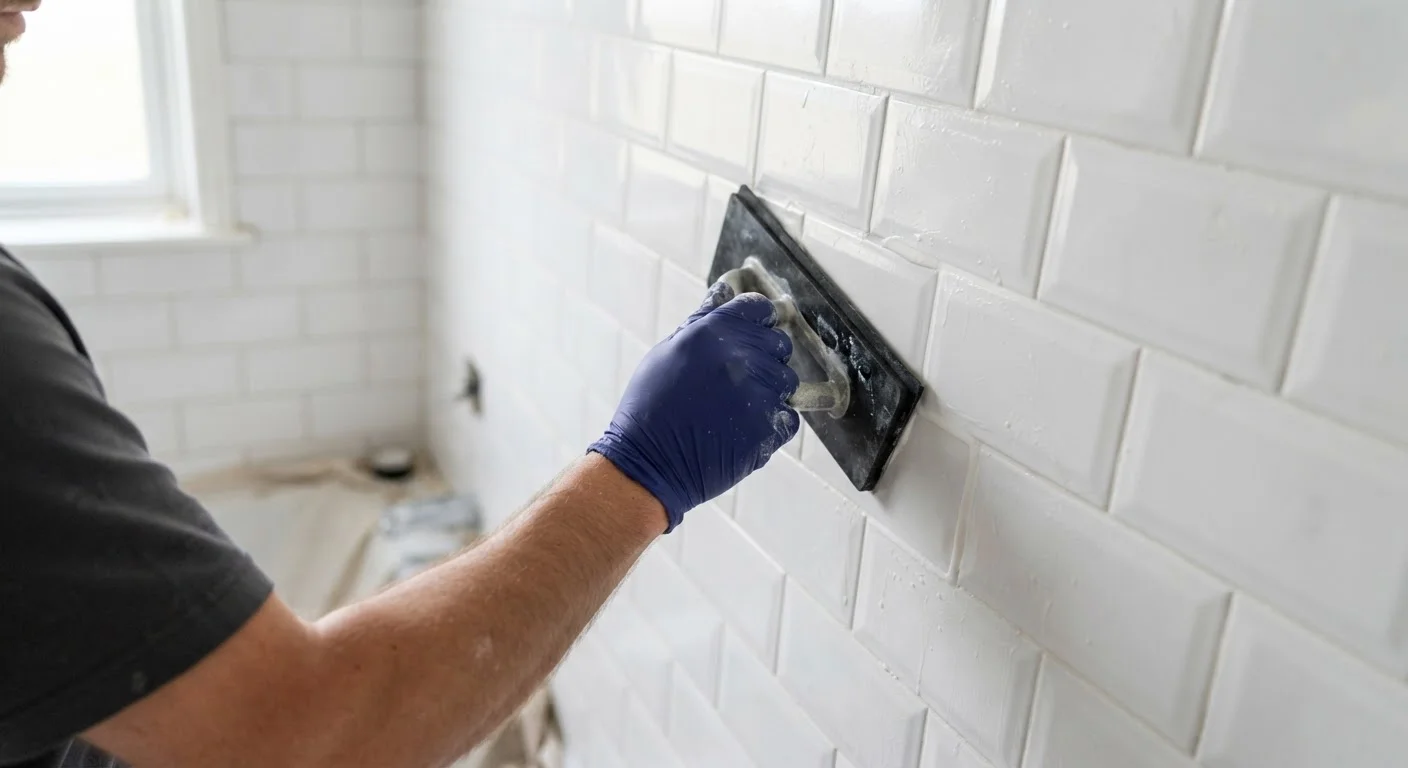
When grouting, work in small sections of two to three square feet rather than trying to cover the whole wall at once. This prevents the grout from setting before you can clean the haze.
Grout begins to firm up within 15-30 minutes depending on temperature and humidity. Overextending the work area leads to hardened haze that requires significant effort - and sometimes chemical removers - to clean off.
For cracked-but-bonded tiles where the tile itself is damaged but the substrate is sound, a color-matched epoxy repair compound can fill hairline fractures as a temporary measure. However, a full replacement is more durable for wall tile in wet zones.
Refreshing Deteriorated Grout
Even grout that isn't crumbling can benefit from a refresh if it's stained, discolored, or showing early erosion. The process begins with removal. Use a grout saw or oscillating tool to cut out grout to a depth of at least 3mm - deep enough that new grout has something to bond to. Vacuum or wipe away all dust and debris.
Mix your grout according to package instructions to a peanut-butter consistency. Press it into joints with a grout float held at a 45-degree angle, working diagonally across the tile faces to pack joints fully. Let the grout sit for 15-20 minutes (follow your product's open time), then wipe away the haze with a damp sponge in circular motions. Rinse the sponge frequently - dragging grout residue back across tiles makes the haze worse.
Once the grout has cured (typically 48-72 hours), apply a penetrating grout sealer to resist moisture and staining. This single step significantly extends the life of your work. Bathroom tile is a natural part of your seasonal maintenance cycle - see the room-by-room repair checklist for a helpful annual schedule.
Test Your Grout Color Before Committing
Mix a small batch of grout and let it fully dry on a scrap tile or cardboard before grouting the entire surface. Grout color shifts noticeably as it dries - often lightening by several shades. Testing prevents an unwelcome color surprise once the job is done.
Re-Caulking Joints and Transitions
Grout is rigid; caulk is flexible. Anywhere two surfaces meet at an angle or where tile meets a fixture - the tub ledge, shower floor, inside corners, around a faucet trim plate - movement from thermal expansion and daily use will crack grout over time. Those joints require caulk, not grout.
Start by removing every trace of old caulk. Use a utility knife or caulk removal tool to cut it free, then clean the substrate with a mild bathroom cleaner and let it dry completely. Any moisture trapped beneath fresh caulk will cause it to fail early.
Cut the caulk tube nozzle at a 45-degree angle to a small opening - about 3mm - and apply in one smooth, steady bead. Tool the bead immediately with a wet fingertip or a caulk smoothing tool, pressing it into the joint. Remove tape (if used) before the caulk skins over. For a deeper look at why caulk fails and how to prevent it, see our guide on caulk cracking.
Never Grout Over Caulk - Or Caulk Over Grout
Applying grout over old caulk, or caulking over deteriorated grout without full removal, shortens the life of the repair dramatically. The materials have different flex properties and bond requirements. Complete removal is the only reliable foundation for a lasting repair.
Finishing Up and Preventing Future Damage
Allow caulk to cure fully before using the shower - most products require 24 hours, but humid bathrooms can extend that. Avoid the temptation to run water across fresh grout or caulk to test the finish; it disrupts the cure.
Once the restoration is complete, two habits will protect your work long-term: run the bathroom exhaust fan during and for 15 minutes after every shower to reduce moisture exposure, and inspect grout lines and caulk joints annually. Catching a small soft spot or hairline crack early costs minutes; ignoring it can cost hundreds in water damage remediation.
If your restoration revealed any damage to the surrounding drywall - soft spots, staining, or crumbling paper - that work needs to happen before tile goes back up. Patching drywall is a manageable DIY step that ensures your tile has a solid, moisture-resistant base to bond to.
Tile Council of North America (TCNA) Handbook
The industry-standard reference for tile installation methods, grout joint sizing, and waterproofing specifications - useful for understanding why repair standards are what they are.
Grout Joint Width Reference Chart
Consult a joint-width chart to confirm whether sanded or unsanded grout is appropriate for your tile spacing - a common source of early repair failure when chosen incorrectly.
Bathroom Ventilation Fan Sizing Calculator
Proper exhaust ventilation is one of the most effective ways to extend grout and caulk life. Use a CFM calculator to verify your fan is appropriately sized for your bathroom's square footage.