

Key Takeaways
Option A
Grout
The rigid, load-bearing filler for tile field joints.
Best for: Filling the uniform gaps between tiles on flat walls, floors, and ceilings where surfaces move as one plane.
Option B
Caulk
The flexible sealant built to handle movement and transitions.
Best for: Sealing corners, changes in plane, and anywhere two different surfaces or materials meet inside a shower.
If you're filling gaps between tiles on a flat shower wall
Grout
Grout is formulated to fill uniform joints on a single plane. It cures hard, resists abrasion, and keeps tiles aligned without flexing.
If you're sealing the inside corner where two walls meet
Caulk
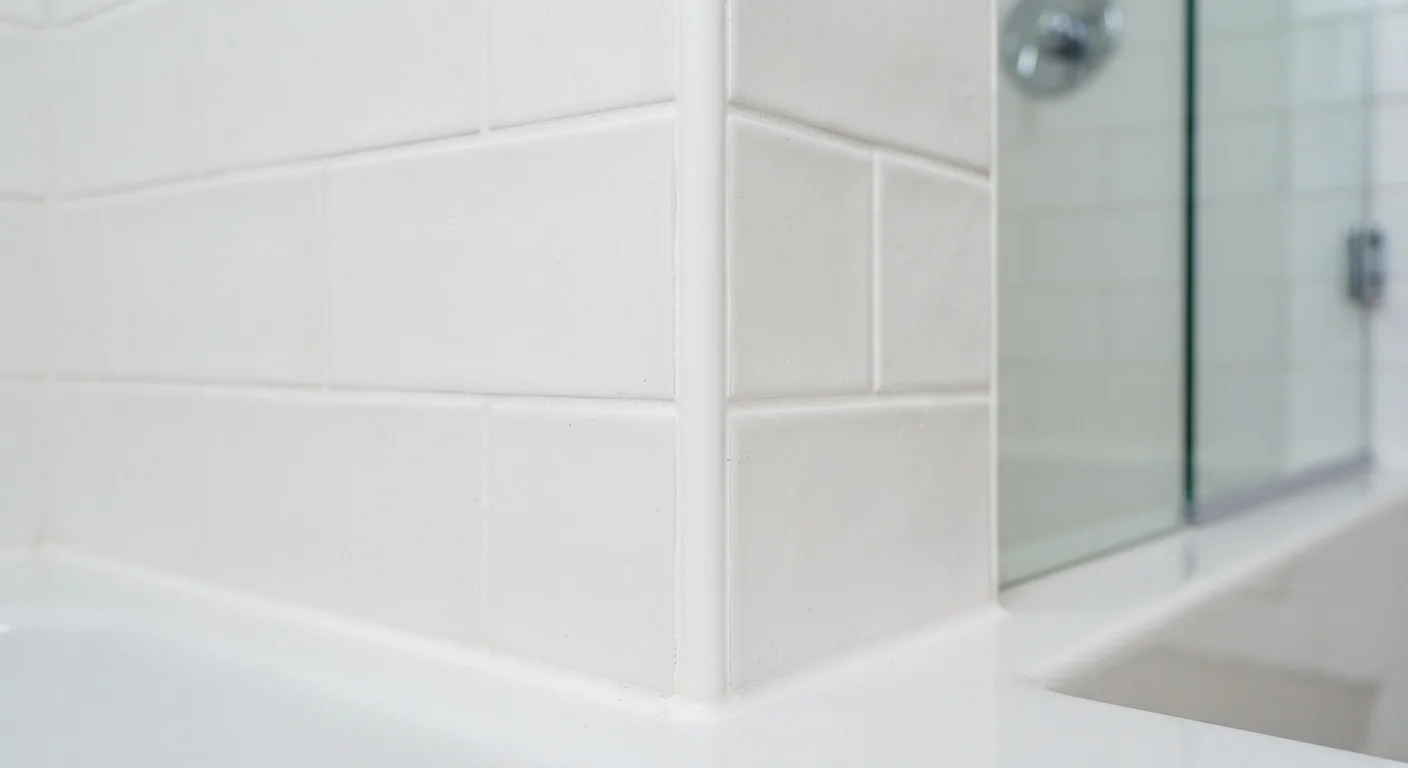
Inside corners flex slightly as structures settle. Caulk accommodates that movement without cracking, preventing water from penetrating behind the tile.
If you're sealing the joint where the tub deck meets the tile wall
Caulk
The tub-to-tile joint is a classic change-of-plane transition and one of the most movement-prone spots in any bathroom - caulk is the only appropriate material here.
If you're doing a full bathroom tile restoration and need to handle both
Grout and Caulk together
A complete restoration uses grout for field joints and caulk for all corners and transitions. See the bathroom restoration walkthrough for full guidance.
Why Mixing Them Up Causes Real Damage
The single most common tiled-shower mistake isn't a bad cut or a crooked tile - it's reaching for grout when the joint calls for caulk, or assuming caulk can substitute for grout across a field of tiles. Both errors lead to the same outcome: water finds a path behind the tile, saturates the substrate (the backer board or mortar bed beneath), and sets off a cycle of mold growth and structural deterioration that can turn a simple re-grout into a full demo-and-retile project.
Understanding why each material exists - not just where to put it - makes the right choice obvious every time.
Grout is a cement-based (or epoxy-based) material designed to fill the consistent, narrow joints between tiles that sit on the same flat plane. Once cured, it's essentially rigid. That rigidity is a feature when tiles need to stay locked in alignment, but it becomes a liability anywhere the structure experiences even minor movement or flexing.
Caulk - specifically 100% silicone or siliconized latex caulk formulated for wet areas - is an elastomeric sealant. It bonds to both surfaces of a joint and stretches slightly as those surfaces shift. In a shower, that flexibility is critical at every corner and transition point.
| Criterion | Grout | Caulk |
|---|---|---|
| Material type | Cement-based or epoxy | Silicone or siliconized latex |
| Flexibility when cured | Rigid | Flexible / elastomeric |
| Where it belongs | Flat field joints between tiles | Corners, transitions, fixture perimeters |
| Handles movement | No - cracks under flex | Yes - designed for movement joints |
| Waterproofing | Porous unless sealed | Inherently waterproof |
| Typical cure time | 24-72 hours | 24-48 hours |
| Color matching | Wide range of colors available | Color-matched options widely available |
The Rule: Plane Changes and Movement Joints Always Get Caulk
The industry standard - reflected in guidelines from the Tile Council of North America (TCNA) - is straightforward: any joint where two different planes meet, or where two different materials meet, is a movement joint and must be filled with a flexible sealant, not grout.
In a typical tiled shower, that means caulk goes in the following locations:
- Inside corners - where the left wall meets the back wall, and where either wall meets the floor
- The tub-to-tile joint - the horizontal seam where the top of the tub surround meets the bottom course of wall tile
- Around fixtures - the perimeter of the showerhead escutcheon plate, faucet handles, and built-in shelf edges where tile meets a different material
- Floor-to-wall transitions - in a tiled shower pan, the joint where the floor tile meets the first row of wall tile
Grout, by contrast, fills every uniform joint running through the tile field itself - the horizontal and vertical lines between tiles on the same wall or the same floor plane.
A Note on Epoxy Grout
Epoxy grout is more water-resistant than standard cement grout and does not require sealing, but it is still a rigid material and does not belong in movement joints. The grout-vs-caulk rule applies regardless of grout type. Epoxy grout also has a significantly shorter working time and can be more difficult to clean from tile faces, so it's worth reading the manufacturer's instructions carefully before use.
If you've had repeated caulk failures in corners or at the tub line, the root cause is often poor prep or the wrong product type. The guide to why caulk keeps cracking covers the most common culprits and how to avoid them.
Application Basics for Each Material
Knowing where each material goes is half the job. Applying it correctly is the other half.
~$300-$1,500+
Estimated cost of water damage repair behind tile
Substrate replacement from prolonged water intrusion can range from a few hundred to several thousand dollars depending on extent, according to general contractor cost data.
3-5 years
Typical caulk replacement interval in wet areas
Even properly applied caulk in high-use showers generally benefits from inspection and touch-up or replacement every few years, per general tile industry guidance.
Grouting Field Joints
- Mix to the right consistency. Pre-mixed grout is convenient; powder grout mixed to a peanut butter consistency gives better control. Follow the manufacturer's water ratio - excess water weakens the cured product.
- Work in sections. Apply grout diagonally across tiles with a rubber float, pressing firmly into joints. Work a manageable area (roughly 10-15 square feet at a time) before it begins to set.
- Clean as you go. Once the grout hazes slightly, wipe with a damp sponge in circular motions, rinsing frequently. Do not flood the surface with water.
- Allow full cure before exposing to water. Most cement grouts need 24-72 hours before light use; check the product data sheet for specifics.
Caulking Movement Joints
- Remove all old caulk completely. A caulk removal tool and isopropyl alcohol will clear residue. Caulk applied over old caulk will fail prematurely.
- Ensure the joint is bone dry. Wait at least 24 hours after any water exposure before caulking.
- Apply in a single, steady pass. Cut the tube tip at a 45-degree angle slightly smaller than the joint width. Move at a consistent speed to avoid gaps or overflow.
- Tool and smooth immediately. Use a wet finger or a caulk finishing tool to press the bead into the joint and create a concave profile. This is what creates a proper seal - a surface bead alone will not bond correctly to both surfaces.
- Allow full cure before use. Silicone caulks typically require 24 hours; some formulations need up to 48 hours in low-humidity conditions. Avoid running water over the joint during cure.
For a complete approach to tackling grout, caulk, and tile repairs together, the bathroom tile restoration walkthrough provides a full project sequence from assessment to finish.