

Key Takeaways
Understanding Drywall Damage
Drywall - the gypsum-core panel that forms most modern interior walls - is durable but not indestructible. Daily life produces a range of damage: doorknob dents, furniture scuffs, nail holes left from old picture frames, moisture-related crumbling, or the slow widening of stress cracks that appear as a house settles over years.
The good news is that nearly all of these repairs fall into a manageable range of techniques. The same core material - joint compound (the white paste that fills and levels the surface) - is used across every repair type. What changes is the prep work and the backing you provide beneath it.
Drywall repair pairs naturally with other surface restoration tasks. If you're refreshing a bathroom, our bathroom tile and re-caulking walkthrough covers complementary repairs you may want to tackle at the same time. And if your home maintenance reveals wall cracks around windows or doors, those joints may also need attention - see our article on why caulk keeps cracking for guidance on that related issue.
Repeated Cracks May Signal a Bigger Problem
If cracks reappear shortly after repair - especially diagonal cracks near door or window corners - they may indicate foundation movement or structural settling rather than simple surface damage. In those cases, patching is a temporary measure. Consult a licensed contractor or structural engineer to assess the underlying cause before repairing the surface again.
Before gathering materials, check whether your repair is part of a larger seasonal maintenance review. Our room-by-room seasonal repair checklist can help you prioritize what to address first.
Putty knife or taping knife (4"-6")
Used to apply and feather joint compound smoothly over repairs.
Sanding sponge or 120-grit sandpaper
Smooths dried compound between coats and before priming.
Self-adhesive mesh drywall patch
Bridges medium holes (1"-6") to provide a stable surface for compound.
Drywall backer board or wooden cleat
Provides structural support when patching large holes that need a new drywall piece.
Lightweight joint compound (pre-mixed)
The filler material spread over patches and cracks to restore a flat surface.
Drywall primer
Seals compound and equalizes wall porosity before painting.
Utility knife
Cuts drywall patches and trims ragged edges for a clean repair.
Step-by-Step Repair Instructions
Follow these steps for any size of drywall repair. Steps 1-3 address damage assessment and patch installation; steps 4-6 cover compound application, finishing, and painting. Read through all steps before beginning so you can gather everything you need upfront.
What you will need
Assess the damage and choose your method
Not all drywall damage is repaired the same way. Understanding which technique to use saves time and produces better results.
- Hairline cracks and nail pops: Fill with a thin coat of spackling compound or lightweight joint compound. No backing needed.
- Small holes (up to 1"): Use a pre-mixed spackling paste applied directly and smoothed flush with a putty knife.
- Medium holes (1"-6"): Apply a self-adhesive mesh patch over the hole, then skim with joint compound.
- Large holes (over 6"): Cut out the damaged area, install wood or metal backer supports, cut a new drywall piece to fit, secure it, then tape and compound the seams.
Prepare the damaged area
Clean, stable edges are the foundation of a lasting repair. Use a utility knife to remove any loose drywall paper, crumbling gypsum, or jagged edges around the hole. For nail pops, drive the existing nail slightly deeper with a hammer and add a drywall screw 2 inches above and below it to re-secure the panel to the stud. Wipe away dust with a dry cloth.
Apply the patch or backing
For medium holes, peel the backing off a self-adhesive mesh patch and press it firmly over the opening, centered. For large holes, cut the damaged section into a clean rectangle with a utility knife. Cut two wooden cleats slightly longer than the opening's height, slide them behind the wall on each side, and drive drywall screws through the existing drywall into each cleat to hold them in place. Cut a replacement piece of drywall to fit snugly and screw it into the cleats.
Apply joint compound in thin coats
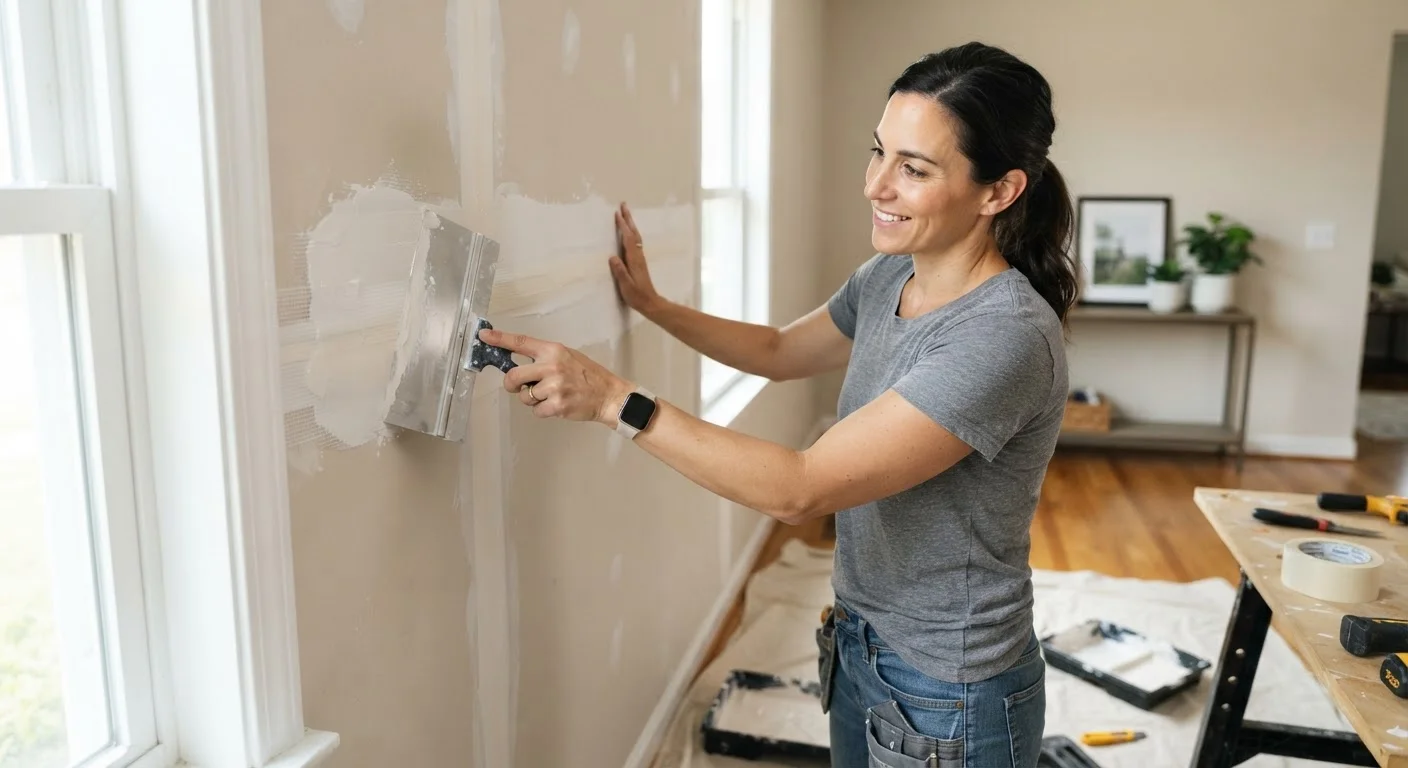
Load a modest amount of pre-mixed joint compound onto your taping knife. Apply a first coat over the patch, spreading it outward from the center in smooth, overlapping strokes. The goal of the first coat is coverage, not perfection. Let it dry completely - typically 4-8 hours depending on humidity - before lightly sanding with 120-grit sandpaper. Apply a second coat, extending slightly beyond the first to feather the edges into the surrounding wall. A third thin coat is often needed for large repairs. Sand lightly between every coat.
Sand smooth and prime the surface
Once the final coat is fully dry, sand the repair area with a fine sanding sponge (150-grit) using circular motions, blending the edges until the patched surface feels flush with the surrounding wall. Wipe away all dust with a slightly damp cloth and allow to dry. Apply a coat of drywall primer specifically designed to seal compound; this prevents the repaired spot from showing through the finish paint as a dull patch - a flaw commonly called flashing.
Paint to match and finish
Once primer is dry, apply finish paint that matches your wall. Use the same sheen level as the existing paint - a mismatch in sheen is often more noticeable than a color difference. Apply at least two thin coats, feathering each coat beyond the repair zone. For best results, paint the entire wall from corner to corner rather than spot-painting, which can highlight the repair even with a perfect color match. See our guide to interior wall painting prep for a complete walkthrough of surface preparation before you open a paint can.
Use Drywall Tape on Large Seams
When patching holes larger than a few inches, embed paper or fiberglass drywall tape along every seam before applying compound. Tape prevents the seam from cracking as the house naturally shifts with seasonal temperature changes. Press the tape into a thin bed of compound, smooth it flat, and then apply your coats over the top.
Know When to Call a Professional
Drywall work near electrical panels, outlets, or plumbing access points should be approached with caution. If your repair involves cutting into a wall where utilities may be present, have the area assessed before proceeding. Our guide on knowing when to DIY vs. hire a pro can help you make that call confidently.