

Key Takeaways
Before You Open the Wall Plate
Replacing a standard single-pole light switch or a duplex outlet is genuinely within reach for most homeowners - but only when approached with the right preparation. Electrical work that seems simple carries real risk if the circuit isn't fully de-energized before you begin. Before picking up a screwdriver, read our guide on what homeowners should know before touching electrical work to understand which tasks belong in the DIY category and which require a licensed electrician.
For a like-for-like swap - same device type, same amperage, same location - no structural work is involved, and in most jurisdictions no permit is required. That said, local electrical codes vary. Check with your municipality if you're unsure.
What you will need
Non-contact voltage tester
Confirms that the circuit is fully de-energized before you touch any wiring - the most critical safety tool for this task.
Flathead and Phillips screwdrivers
Used to remove the cover plate, loosen terminal screws, and secure the new device in the electrical box.
Needle-nose pliers
Helps form tight hook-shaped loops in wire ends for secure connection to screw terminals.
Wire stripper
Removes insulation from wire ends if existing wire tips are too short or damaged for a clean connection.
Electrical tape
Used to mark or insulate wire ends, particularly on switch-loop neutral wires repurposed as hots.
Replacement switch or outlet
The new device - must match the amperage rating (15A or 20A) and type of the existing device.
How to Replace a Standard Outlet or Light Switch
Follow these steps carefully and in order. Do not skip the voltage-testing step - it is the single most important action in the entire process.
Identify and turn off the correct circuit breaker
Go to your electrical panel and locate the breaker that controls the outlet or switch you're replacing. Flip it to the OFF position. If breakers are unlabeled, plug a lamp into the outlet and switch breakers until the lamp goes out.
Test for live voltage at the device
Hold your non-contact voltage tester near the outlet slots or switch. It should show no voltage. If it beeps or lights up, you have not turned off the correct breaker - go back to the panel before proceeding.
Remove the cover plate and unscrew the device
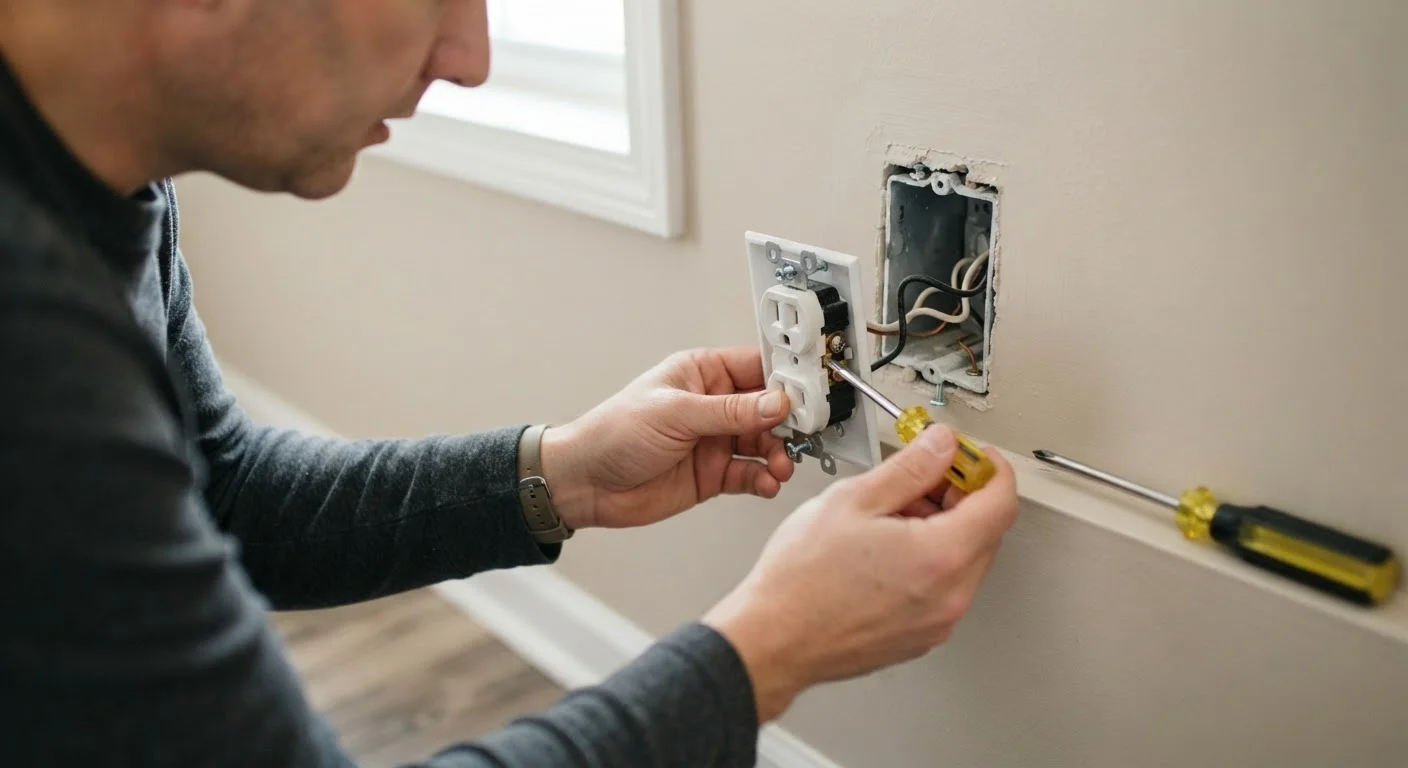
Remove the single cover-plate screw, then unscrew the two mounting screws holding the device to the electrical box. Gently pull the device straight out - it will still be attached to the wires. Do not yank.
Disconnect the existing wires
Loosen each terminal screw and unwrap the wire from it, or if the device uses push-in (backstab) connectors, insert a small flathead screwdriver into the release slot to free each wire. Inspect the wire ends - trim and re-strip if they appear nicked, burned, or too short (aim for about ¾ inch of bare copper).
Connect wires to the new device
Using your reference photo, connect each wire to the corresponding screw on the new device. Form a clockwise hook in each wire end with needle-nose pliers so the hook tightens as you snug the screw clockwise. Connect ground first, then neutral (white to silver), then hot (black to brass). Tug each wire gently to confirm it holds.
Fold wires in and secure the device
Carefully fold the wires accordion-style back into the electrical box. Press the device flat against the box and tighten its two mounting screws until it sits level and flush. Reattach the cover plate.
Restore power and test
Return to the panel and flip the breaker back ON. Test the outlet with a lamp or outlet tester, or flip the light switch to confirm it controls the fixture. For a GFCI outlet, press TEST then RESET to confirm protection is active.
Aluminum Wiring Requires a Specialist
Homes built between roughly 1965 and 1973 may have aluminum branch circuit wiring, which appears dull silver-gray rather than bright copper. Aluminum wiring requires CO/ALR-rated devices and specific techniques to reduce fire risk at connections. If you open a box and see aluminum wiring, stop work and contact a licensed electrician - this is not a standard DIY swap.
Understanding What You'll Find Inside the Box
When you pull the device out from the electrical box, you'll typically see two to four wires. In standard 120V circuits:
- Black wire - the hot wire, carries live current. Connects to the brass-colored screw on an outlet, or to either screw on a single-pole switch.
- White wire - the neutral wire. Connects to the silver-colored screw on an outlet. On a switch, it may be used as a hot if the circuit is switch-loop wired (it should have black tape marking it).
- Bare copper or green wire - the ground. Connects to the green screw on the device.
Some boxes will have two sets of wires - this means the outlet or switch is in the middle of a circuit run rather than at the end. Each pair of wires gets connected to the same corresponding screw terminals.
Photograph Before You Disconnect
Before removing a single wire, take a clear photo of the existing wiring with your phone. Wire colors can be ambiguous in dim conditions, and a reference image eliminates guesswork when connecting the new device. This habit takes ten seconds and prevents most rewiring mistakes.
GFCI outlets (the type with TEST and RESET buttons) have two sets of terminals labeled LINE and LOAD. The incoming power wires from the panel connect to LINE. If the GFCI is protecting downstream outlets, those wires connect to LOAD. Mixing these up will prevent the GFCI from working correctly.
Finishing Up and Testing
Once the new device is secured in the box and the cover plate is on, return to the breaker panel and restore power to the circuit. Use your voltage tester or plug in a lamp to confirm the outlet or switch operates correctly. For a GFCI outlet, press the TEST button - the outlet should lose power - then press RESET to restore it.
If the device doesn't work, turn the breaker off again before re-examining your connections. Loose or incorrect wire-to-screw contact is the most common cause of failure. Do not force a troubleshoot with live power. If wiring appears damaged, discolored, or if you find aluminum wiring (dull silver-gray) rather than copper, stop and consult a licensed electrician - aluminum wiring requires specialized devices and techniques.
This article is for general informational purposes only. Electrical work carries risk of serious injury or property damage. Local codes and safety requirements vary. When in doubt, hire a qualified, licensed electrician.