

Key Takeaways
Why Prep Determines the Outcome
Most homeowners spend their time thinking about paint color and finish - and almost no time thinking about what happens before the first brushstroke. That's backwards. Professional painters consistently say that preparation is where quality is won or lost. Paint is a thin film that conforms to every surface beneath it. If that surface has cracks, grease, dust, or glossy patches, the paint will reveal them - or fail to stick at all.
The good news: prep work is learnable, methodical, and deeply satisfying when done right. This guide walks through each stage in the order you should tackle it.
“Painting is the easy part. The prep work is where you earn the result.”
— Bob Vila, Home improvement broadcaster and author
Step 1 - Repair Before You Prime
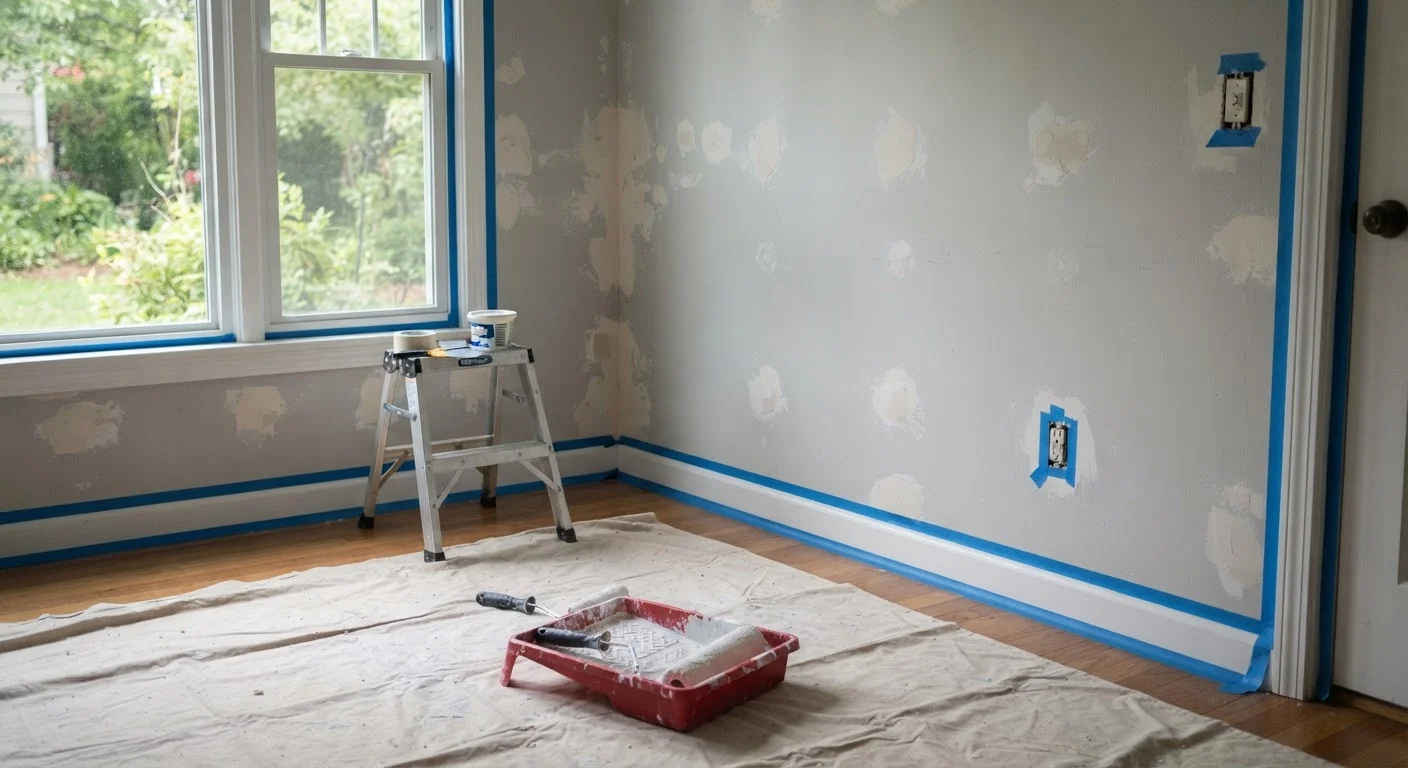
No paint job should begin on a damaged wall. Inspect every surface carefully in raking light - hold a work lamp at a low angle to make imperfections cast shadows. Mark problem spots with a pencil as you go.
Common repairs include:
- Nail pops and small holes: Fill with lightweight spackle, allow to dry fully, then sand smooth with 120-grit sandpaper.
- Hairline cracks: Widen slightly with a putty knife before filling so the compound bonds into the crack rather than sitting on top.
- Larger damage: Holes bigger than a few inches require mesh patches and joint compound in multiple coats. For a full walkthrough, see our guide to patching drywall.
Every repair must be sanded flush and free of ridges before moving on. Run your hand across the wall - if you can feel it, the paint will show it.
Always inspect walls under raking light before beginning any repairs.
Normal overhead lighting hides shallow imperfections that become glaringly visible once paint is applied. Raking light - a lamp held at a sharp angle to the wall - reveals dips, ridges, and cracks that would otherwise go unaddressed.
Sand every repaired area flush, then confirm with your hand - not just your eyes.
Our eyes adjust to gradual transitions; our fingertips don't. A ridge that looks smooth from a distance will create a shadow line under a semi-gloss or satin finish.
Allow all cleaned surfaces at least 24 hours to dry before applying any primer or paint.
Moisture trapped beneath primer or paint causes bubbling, adhesion failure, and eventual peeling - often within months of application. Patience here protects every hour of work that follows.
Match your primer to the specific condition of your wall surface.
A single universal primer doesn't exist. Using the wrong type - for example, a latex primer over a water-stained surface - can allow bleed-through that no topcoat will fully cover.
Press painter's tape edges firmly with a stiff putty knife, not just your fingers.
Loose tape edges allow paint to wick underneath, creating ragged lines along trim. A putty knife ensures full contact along the entire length of the tape.
Step 2 - Clean, Mask, and Protect
Paint won't bond to grease, smoke residue, or dust. Wash walls with a mild TSP substitute (trisodium phosphate alternative) or a diluted all-purpose cleaner, then rinse with clean water and allow to dry completely - at least 24 hours in a well-ventilated room.
Once walls are clean and dry, mask everything you don't want painted:
- Apply painter's tape to trim, outlet covers, switch plates, and window frames. Press the tape edge firmly with a putty knife to prevent bleeding.
- Lay drop cloths over the entire floor and any furniture that couldn't be removed. Canvas cloths stay in place better than plastic sheeting.
- Remove outlet covers and switch plates entirely where possible - taping around them is slower and less precise.
Getting Clean Lines Along Trim
Remove painter's tape while the final coat is still slightly tacky - not fully dry. Pulling tape off cured paint can chip the edge and undo your careful masking work. Pull the tape back at a 45-degree angle, slowly and steadily, for the cleanest result.
Step 3 - Prime the Right Way
Primer is not optional. It seals porous surfaces, blocks stains, and creates a uniform base that helps topcoats adhere properly and look even. The type of primer matters:
- New or patched drywall: Use a drywall primer-sealer to prevent the paper facing from raising and to equalize porosity across patches and untouched areas.
- Stained walls (water marks, smoke, markers): Use a shellac-based or oil-based stain-blocking primer - latex primers often allow stains to bleed through.
- Glossy painted surfaces: Sand lightly with 150-grit sandpaper before priming to give the surface tooth, then apply a bonding primer.
Apply primer evenly and allow it to cure according to the manufacturer's label - not just until it's dry to the touch. Once cured, lightly sand any raised grain or texture with fine-grit sandpaper (180-220 grit) and wipe away dust with a tack cloth before painting.
Moving Into Paint - What Prep Makes Possible
With repairs made, surfaces cleaned, masking in place, and primer cured, you're ready to paint onto a surface that will actually accept it. At this stage, application is straightforward: cut in edges with a brush, then roll the field in overlapping W or M patterns to distribute paint evenly without roller marks.
Two coats of quality paint - with adequate dry time between coats - will produce a finish that lasts years rather than months. That durability traces directly back to the prep work beneath it.
70-80%
Of painting time spent on preparation
Professional painters commonly cite this range when describing where quality interior results actually come from.
3-5 years
Earlier repaint often needed without proper prep
Industry guidance generally suggests properly prepped and primed interiors can last 8-10 years before repainting is needed, versus significantly shorter cycles when prep is skipped.
Taking shortcuts in prep to save an afternoon often means repainting in two years instead of eight. The investment of time upfront pays dividends every time you look at the wall.
This article is for general informational purposes only. Always consult local building codes and, for any electrical or structural work adjacent to your project, a licensed professional.