

Key Takeaways
Why Faucets Drip - and Why It's Worth Fixing
A dripping faucet is almost never a sign of serious plumbing failure. In the vast majority of cases, the culprit is a small rubber or ceramic component that has simply worn out over time - a washer flattened by repeated compression, an O-ring dried and cracked from age, or a cartridge whose internal seals can no longer hold pressure. These parts typically cost a few dollars and take less than an hour to swap out.
Beyond the annoyance factor, a slow drip adds up. According to the U.S. Environmental Protection Agency, a faucet dripping at one drop per second can waste more than 3,000 gallons of water annually - a meaningful figure for both utility bills and water conservation. Fixing it promptly is one of the simplest, highest-return maintenance tasks a homeowner can do.
If you've been putting it off because the fix seemed complicated, this guide is designed to walk you through the process clearly, regardless of faucet type. For similar DIY plumbing wins, see our guide to fixing a running toilet - another common repair most homeowners can handle themselves.
What you will need
What You'll Need
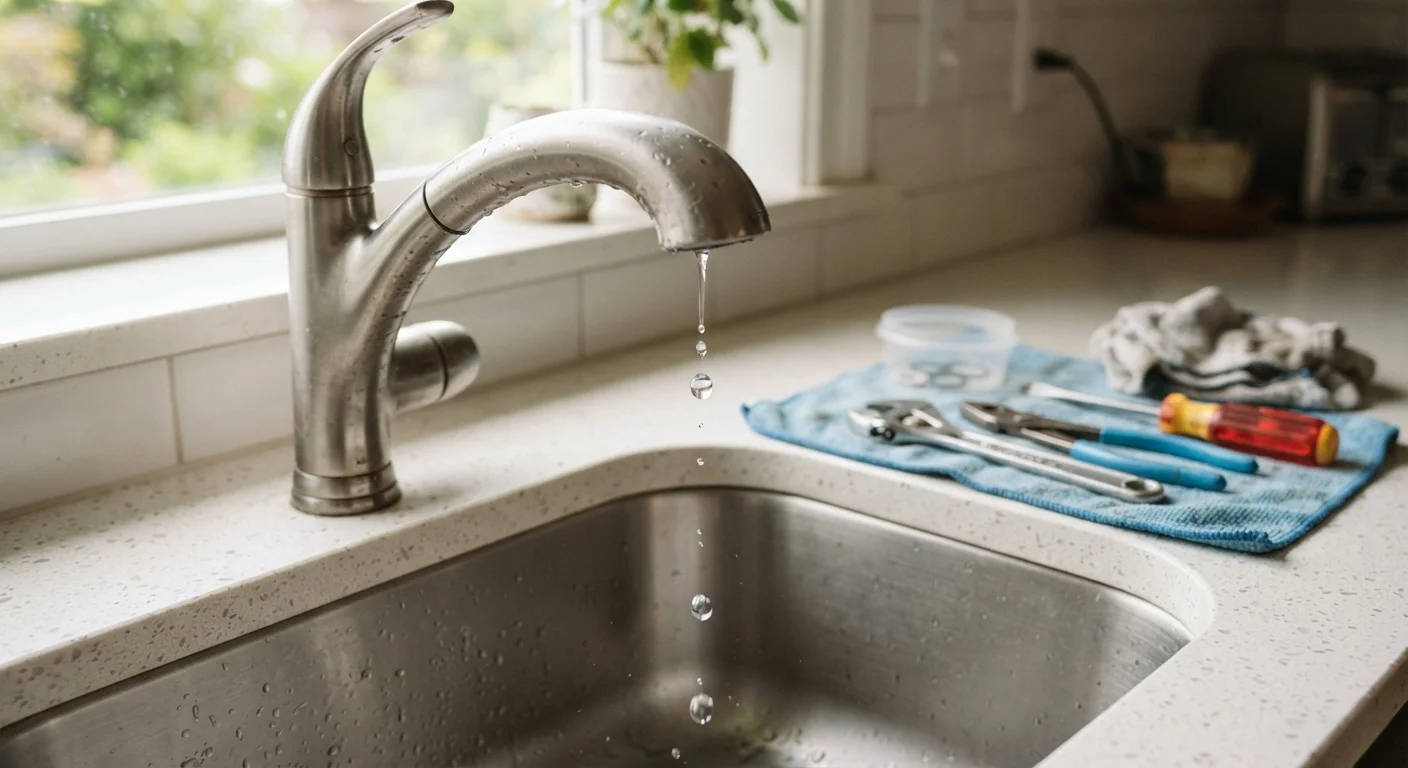
Gather your tools and materials before you begin. Having everything within reach prevents mid-repair trips to the hardware store with water shut off. Because faucet internals vary so widely, the most important preparation step is identifying your faucet type and sourcing the correct replacement part before you disassemble anything.
Adjustable wrench
Loosens and tightens packing nuts and supply line connections.
Phillips and flat-head screwdrivers
Removes handle screws and pries off decorative caps.
Needle-nose pliers
Grips small components like O-rings and retaining clips during disassembly.
Replacement washers, O-rings, or cartridge
The worn part most likely causing the drip - match exactly to your faucet model.
Plumber's grease (silicone-based)
Lubricates rubber components during reassembly to extend their lifespan.
Plumber's tape (PTFE tape)
Seals threaded connections to prevent leaks after reassembly.
Small bucket or towels
Catches residual water when you open the faucet assembly.
Photograph Every Disassembly Step
Before removing each component, take a photo with your phone. Faucet internals can be surprisingly easy to reassemble in the wrong order, and a visual reference takes the guesswork out of putting everything back together. This habit is especially useful for cartridge-style faucets with multiple small parts.
Step-by-Step Repair Instructions
Follow these steps in order. The process applies broadly across faucet types, with notes for each variation at the steps where they differ.
Always Shut Off the Water First
Before loosening any faucet component, turn off the water supply at the shut-off valves beneath the sink - or at your home's main shutoff if there are none. Then open the faucet handle to release residual pressure and drain remaining water. Skipping this step can result in significant water damage.
Identify your faucet type
The repair method depends entirely on what kind of faucet you have. The four common types found in American homes are:
- Compression faucets - two separate handles; use rubber washers that compress against a seat. Very common in older homes.
- Ball faucets - single lever that rotates over a rounded cap; use springs, seats, and a ball mechanism.
- Cartridge faucets - single or double handle; use a replaceable cartridge that slides in and out.
- Ceramic disc faucets - single lever over a wide cylindrical body; use ceramic discs that rarely wear but can crack.
Check under your sink for a manufacturer label, or search the model name online. Knowing your type lets you buy the correct replacement part before you disassemble anything.
Shut off the water supply and prep the area
Turn the shut-off valves under the sink clockwise until they stop. If your sink doesn't have individual valves, use the main house shutoff. Open the faucet handle to release pressure and let any remaining water drain into the sink. Place a towel or small bucket under the P-trap and supply lines in case residual water spills during disassembly.
Remove the faucet handle
Pry off the decorative cap on top of the handle (if present) using a flat-head screwdriver - it usually snaps off and conceals a Phillips screw underneath. Remove that screw and lift the handle straight up. Some handles require a gentle side-to-side wiggle if mineral deposits have caused them to stick. Avoid forcing or prying against the faucet body, which can crack plastic components.
Access and remove the worn internal component
This step varies by faucet type:
- Compression: Unscrew the packing nut with an adjustable wrench, then lift out the stem. At the bottom you'll find a rubber washer held by a brass screw - remove and replace it.
- Cartridge: Remove any retaining clip with needle-nose pliers, then pull the cartridge straight out. Note the orientation before pulling - some cartridges are directional.
- Ball: Unscrew the cap and collar, then lift out the ball, cam, springs, and rubber seats. All of these typically need replacement as a set.
- Ceramic disc: Unscrew the cylinder, remove the disc cartridge, and inspect for cracks or sediment buildup. Clean with white vinegar if dirty; replace if cracked.
Install the replacement part
Take the worn part to a hardware store and match it precisely - by diameter, depth, and seat shape. Apply a thin coat of silicone-based plumber's grease to any rubber components before installation; this prevents them from tearing during reassembly and extends their service life. For cartridges, confirm the correct orientation (usually marked with a hot/cold indicator) before pressing it into the housing. For compression washers, ensure the replacement is seated flat and the retaining screw is snug but not overtightened.
Reassemble the faucet and test
Reverse your disassembly steps using your photos as a guide. Hand-tighten components first, then snug them with a wrench - over-tightening packing nuts or cartridge retainers can crack housings or damage new seals. Once reassembled, slowly open the shut-off valves and let pressure build gradually. Turn on the faucet to flush any debris, then let it sit in the off position for two to three minutes. Check for dripping at the spout and any weeping around the base or handle. A successful repair requires no drips in any position.
Match Parts Exactly Before Purchasing
Faucet internals vary significantly between manufacturers and even between product lines from the same brand. Bring the old washer, cartridge, or O-ring to the hardware store and match it by size, shape, and seat diameter - not just by general description. Installing the wrong size part will not stop the drip and may worsen the seal.
When DIY Has Limits
Most dripping faucets yield to the approach described above. However, some situations call for a licensed plumber: if the valve seat is severely corroded and can't be resurfaced, if the faucet body is cracked, or if shutoff valves are absent, stuck, or leaking themselves. Attempting repairs on faulty shutoff valves without proper training can turn a small fix into a major leak.
Also be aware that any work involving the supply lines connecting to your home's main plumbing may require a permit or licensed trade work depending on your local jurisdiction. When in doubt, a plumber's diagnostic visit is a worthwhile investment - and you'll come away with a much better picture of your home's plumbing condition.
Don't let common repair myths push you toward shortcuts that make problems worse. Understanding what you can realistically fix - and when to escalate - is a key part of confident homeownership.